
Quick hook: spooky nails without the mess
Want Halloween nails that look dramatic but don’t require hours of painting? Bloody Halloween nail stickers are an instant way to add realistic blood, scratches, and gothic accents to your manicure. This beginner-friendly explainer breaks down the terms, tools, and an easy step-by-step routine so you get salon-style results at home.
What are Bloody Halloween nail stickers?
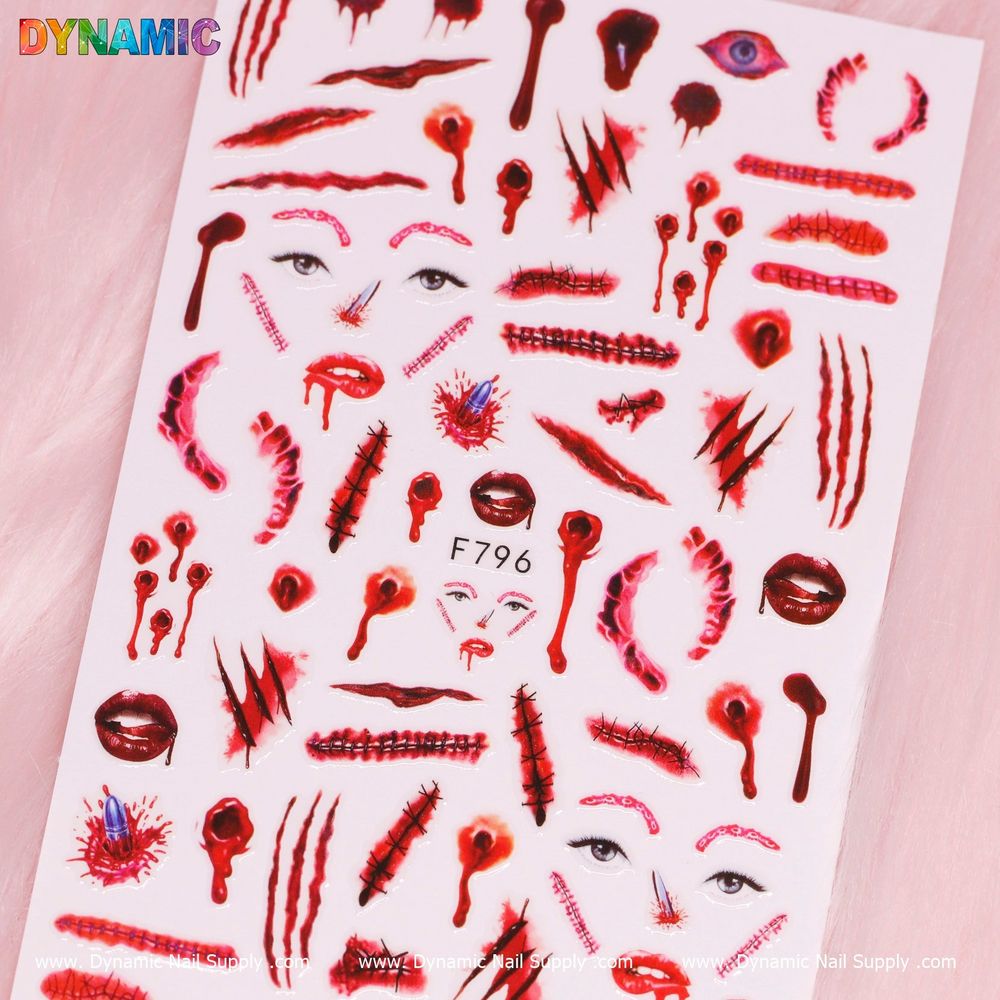
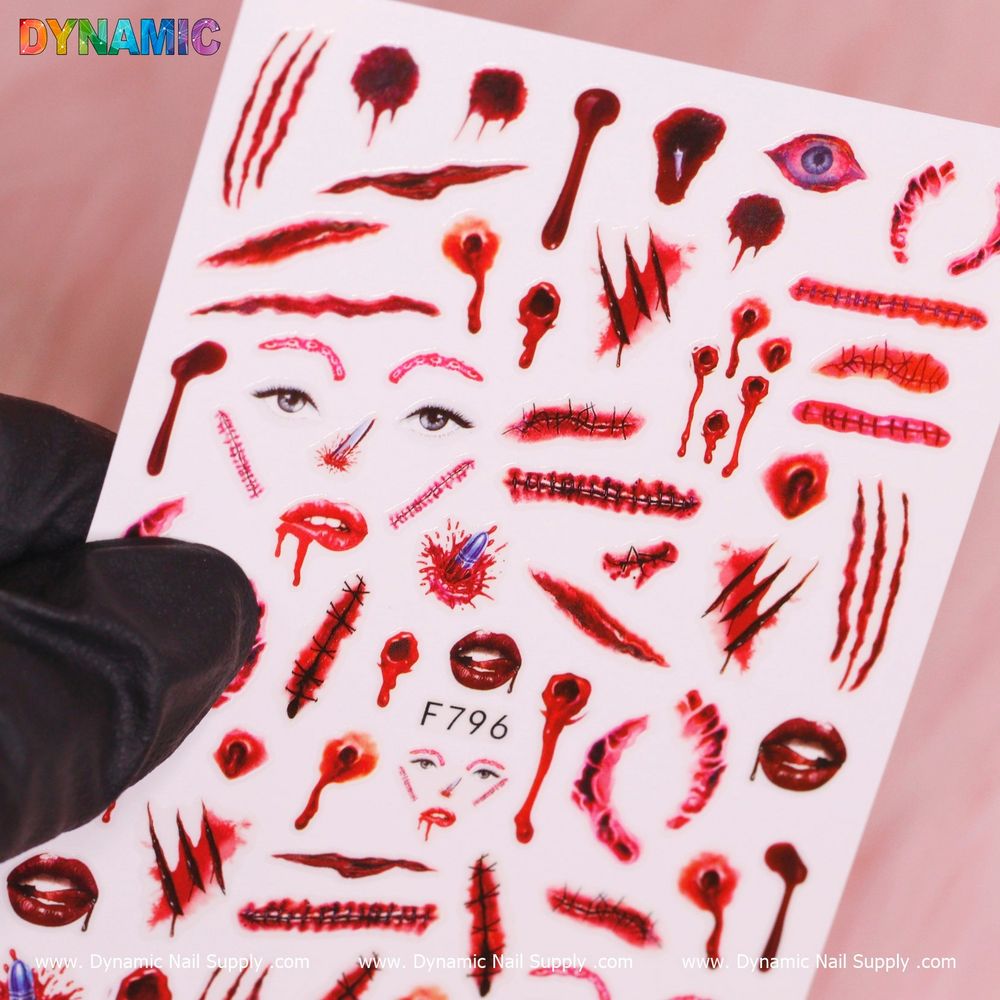
A Bloody Halloween Sticker (F796) is a pre-printed nail art sticker designed to be applied on natural or artificial nails. These decals carry horror-themed motifs—blood spatters, wounds, and creepy details—that transfer onto the nail surface for immediate effect. They’re sold as a nail decoration option and can be used alone or layered with polish and top coat.
What you’ll need before you start
- Clean nails: free of oils and old polish
- Base polish (optional): sheer or colored as your backdrop
- Small scissors or tweezers for handling the sticker
- Non-wipe or regular top coat to seal the decal
- Cuticle stick or orange wood stick to smooth edges
If you want to purchase a single sheet to practice on first, see bloody halloween nail stickers set.
Step-by-step application for beginners
- Prep your nails: Remove any old polish, push back cuticles, and buff lightly. Clean the surface with a lint-free wipe and a nail cleanser or alcohol to remove oils.
- Apply base polish (optional): If you want a colored background like black, deep red, or nude, apply one or two thin coats and let them dry completely. Stickers adhere best to dry surfaces.
- Trim and plan: Cut the sticker close to the design you want. Hold it over the nail to check placement before applying.
- Place the sticker: Use tweezers to position the sticker on the nail. Press gently starting from the center and smooth outward to remove air pockets.
- Secure the edges: Run a cuticle stick or your fingertip along the edges to ensure the decal lays flat. If any excess extends beyond the free edge, file gently with a downward motion or trim it off.
- Seal with top coat: Apply a thin layer of transparent top coat to lock the design in place and add shine. For extra durability, use two thin coats instead of one thick coat.
Practical tips that make the difference
- Work on one nail at a time: Stickers can shift if you try to do all nails before smoothing and sealing.
- Use thin polish layers: Thick base or top coats increase dry time and the risk of sticker lifting.
- Mix and match motifs: Combine blood spatters with gothic accents from other sheets to craft a unique look without overcomplicating application.
- Edge sealing: Wrap the top coat over the free edge like you would with polish—this reduces chipping and sticker lift.
- Practice placement on a spare tip: If you’re nervous, practice on a nail tip or a single finger before committing to a full set.
Who these stickers are best for
Bloody Halloween nail stickers are ideal for beginners who want dramatic results with minimal fuss. They’re also great for busy hobbyists, nail tech students practicing themed sets, or anyone prepping a costume look. Because the product is a single-sheet sticker-style decoration, it’s an affordable seasonal option—priced at $2.00—without committing to specialty polishes or advanced techniques.
Care, removal, and safety notes
- Longevity: Durability depends on prep and sealing—properly applied and sealed decals can last several days to a week under normal wear.
- Removal: Soak a cotton pad with polish remover and hold it against the nail until the adhesive softens, then slide the sticker off gently. Do not peel forcefully, as this can damage the natural nail.
- Skin safety: Avoid placing stickers on irritated or broken skin. If irritation occurs, remove the sticker and discontinue use.
- Allergy caution: If you know you react to adhesives or nail products, test one small area first or consult a professional.
Final notes and quick recap
Bloody Halloween nail stickers are a fast, accessible way to create spooky, high-impact nail art without advanced skills. Prep your nails, choose a background, position carefully, smooth the decal, and seal well. With simple care and a gentle removal method you can enjoy dramatic Halloween looks that are easy to apply and replace.
If you need more themed options, check labels and tags for gothic, haunted, or day-of-the-dead motifs when shopping, and look for seller details—this design is available through Dynamic Nail Supply as Bloody Halloween Sticker (F796).
