
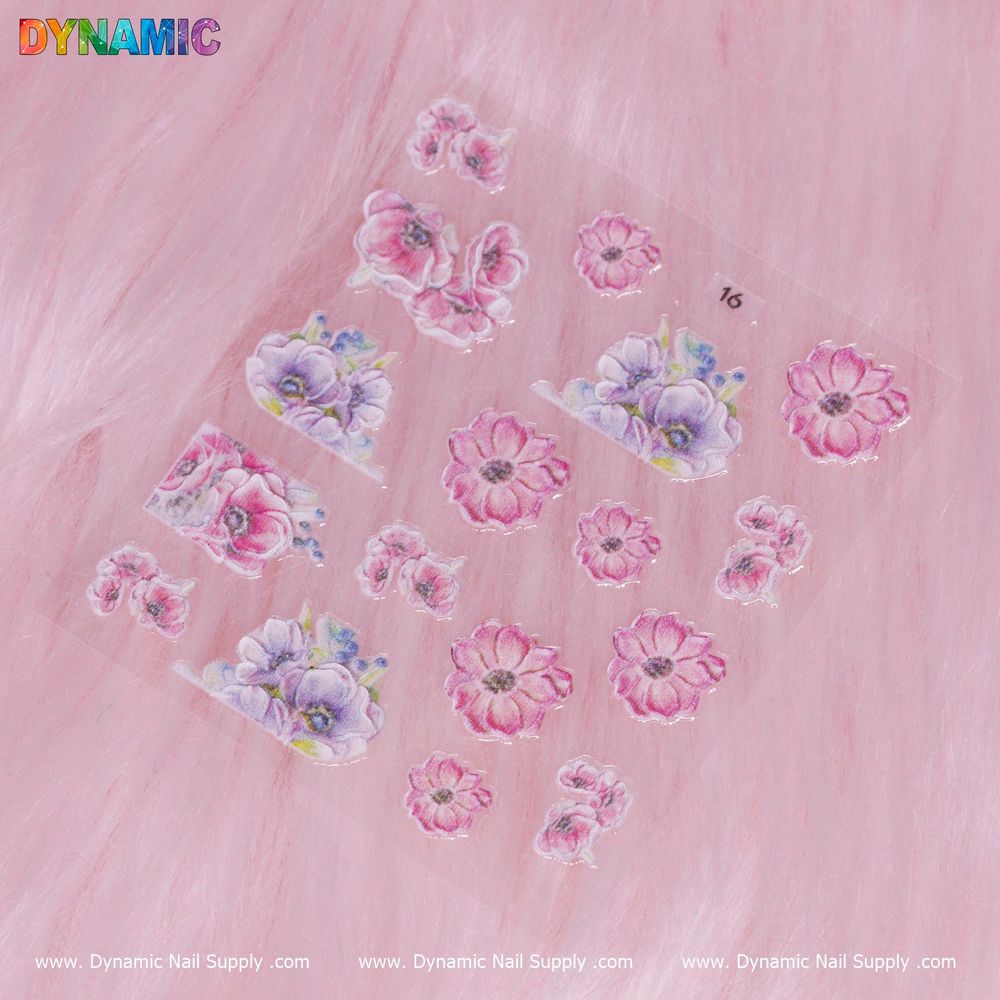
Floral accents can instantly elevate a manicure from plain to pro-level. Flower nail stickers offer a fast, precise way to add delicate blooms without hand-painting—perfect for busy nail techs and DIYers who want consistent, repeatable results.
Why choose flower nail stickers for a salon finish
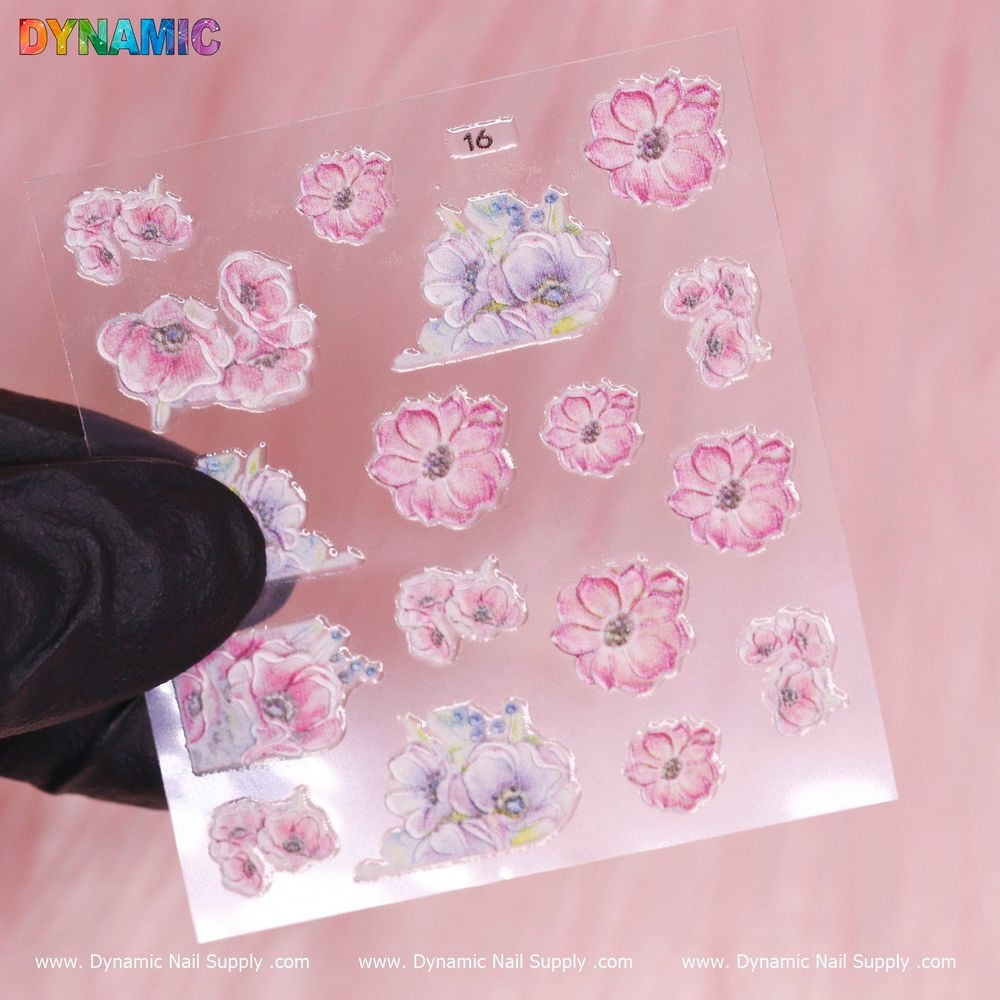
Stickers remove the variability of freehand art: each motif is pre-formed and ready to apply, making it easier to create balanced, symmetrical looks across nails. A pack labeled Flower Sticker (16) gives you multiple designs to mix and match, so you can offer clients floral sets or seasonal variations with minimal time and effort.
Tools and prep: set yourself up for success
Before you begin, gather the essentials: a basic manicure kit, a tack-free top coat or gel top coat, tweezers or a silicone pickup tool, an orangewood stick for positioning, and nail cleanser or isopropyl alcohol. Proper nail prep—removing oils, lightly buffing the surface, and using a dehydrator or primer when needed—ensures stickers adhere smoothly and last longer.
Step-by-step: applying floral stickers like a pro
- Prepare the natural nail or enhancements. Push cuticles back, shape, and lightly buff the plate to remove shine if working on natural nails. For enhancements, make sure the overlay is fully cured and tack-free if using gel.
- Clean the nail. Wipe with cleanser or alcohol to remove dust and oils; this is a small step that makes a big difference in longevity.
- Plan your layout. Lift the sticker sheet and view all designs. Decide whether you want an accent nail, full coverage, or a scattered design across several fingers.
- Pick and place. Use tweezers or a silicone picker to lift the sticker. Position it on the nail and smooth gently with an orangewood stick to remove any air pockets.
- Seal the edges. Apply a thin layer of top coat over the entire nail, making sure to cap the free edge to prevent lifting. For gel top coats, cure according to your product instructions.
- Finish and buff (optional). Once top coat is cured, inspect edges and lightly buff any roughness before applying a second thin top coat if extra durability is desired.
Placement tips for natural, salon-worthy results
- Scale matters: Choose smaller stickers for shorter nails and bolder blooms for longer enhancements.
- Negative space: Leave parts of the nail bare around the sticker for a modern, airy look.
- Layering: Combine partial stickers across adjacent nails to create a cohesive set without overcrowding.
- Accent nails: Reserve a full floral for the ring or index finger and use single petals or tiny buds on other nails for balance.
If you want a budget-friendly option to practice with before offering floral art to clients, consider a pack like Sticker (16) which provides multiple designs for experimentation and client trials.
Design variations and custom finishes
Once stickers are applied, you can tailor the finish to your brand or personal style. Glossy top coats give a fresh, salon-polished shine, while matte top coats create a modern, soft-focus effect. Add subtle rhinestones or metallic striping near the sticker edge for a premium look—just be sure to seal all additions under a final top coat.
Removal and aftercare
Stickers generally lift with gentle soaking in polish remover or using an acetone soak for enhancements. Avoid aggressive peeling, which can damage the natural nail. After removal, rehydrate cuticles and apply a nail oil to restore moisture. If you used gel top coats, follow your usual gel removal protocol to protect the natural plate.
Who should use these floral stickers?
- Busy nail techs: Save time while offering clients consistent, detailed floral designs.
- Home users: Quick way to achieve salon-style manicures without advanced painting skills.
- Educators and students: Great for practice and teaching composition, placement, and finishing techniques.
Care and safety notes
Store sticker sheets flat in a cool, dry place to prevent curling or adhesive breakdown. Avoid placing stickers on nails that are overly oily or damaged—adhesion will be compromised. If a client has a known adhesive sensitivity, perform a patch test before full application.
Key features in context
A pack like Flower Sticker (16) delivers floral motifs ready for immediate use, cutting application time and increasing design consistency. At an accessible price point—$2.00 per pack—it’s an economical way to expand your decoration options for seasonal sets, bridal looks, or quick retail add-ons for clients.
For quality supplies and variety, these stickers are an easy product to keep on hand for every appointment. Available from Dynamic Nail Supply as a compact, versatile option, floral stickers are a dependable tool for achieving polished results quickly.
With careful prep, precise placement, and the right top coat, flower nail stickers let you deliver salon-standard floral manicures every time—whether you’re working behind the chair or at your kitchen table.
