
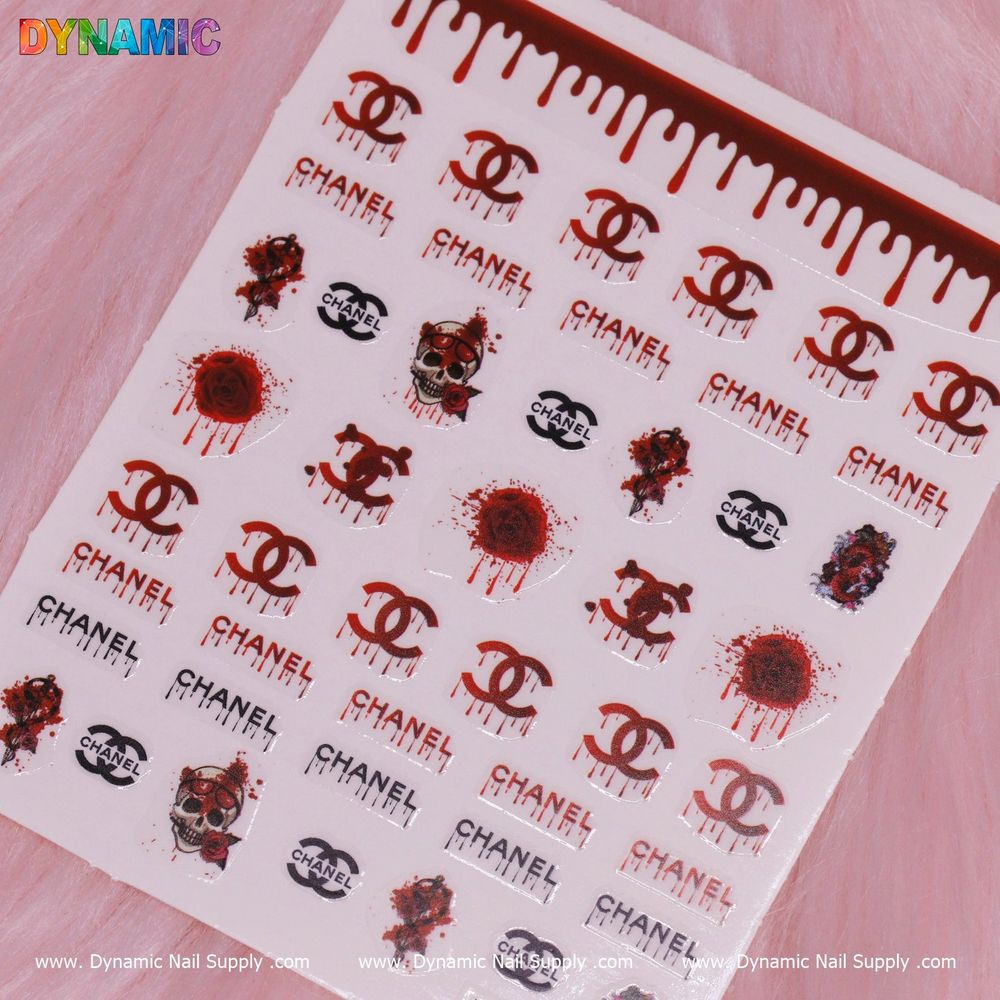
Want spooky, salon-style nails without hours at the table? Luxury Halloween nail stickers are an easy, low-skill way to add gothic, skull, or Day of the Dead accents to natural or polished nails. This guide explains what they are, how to apply them step by step, and simple tips to keep your look intact.
What are luxury Halloween nail stickers?
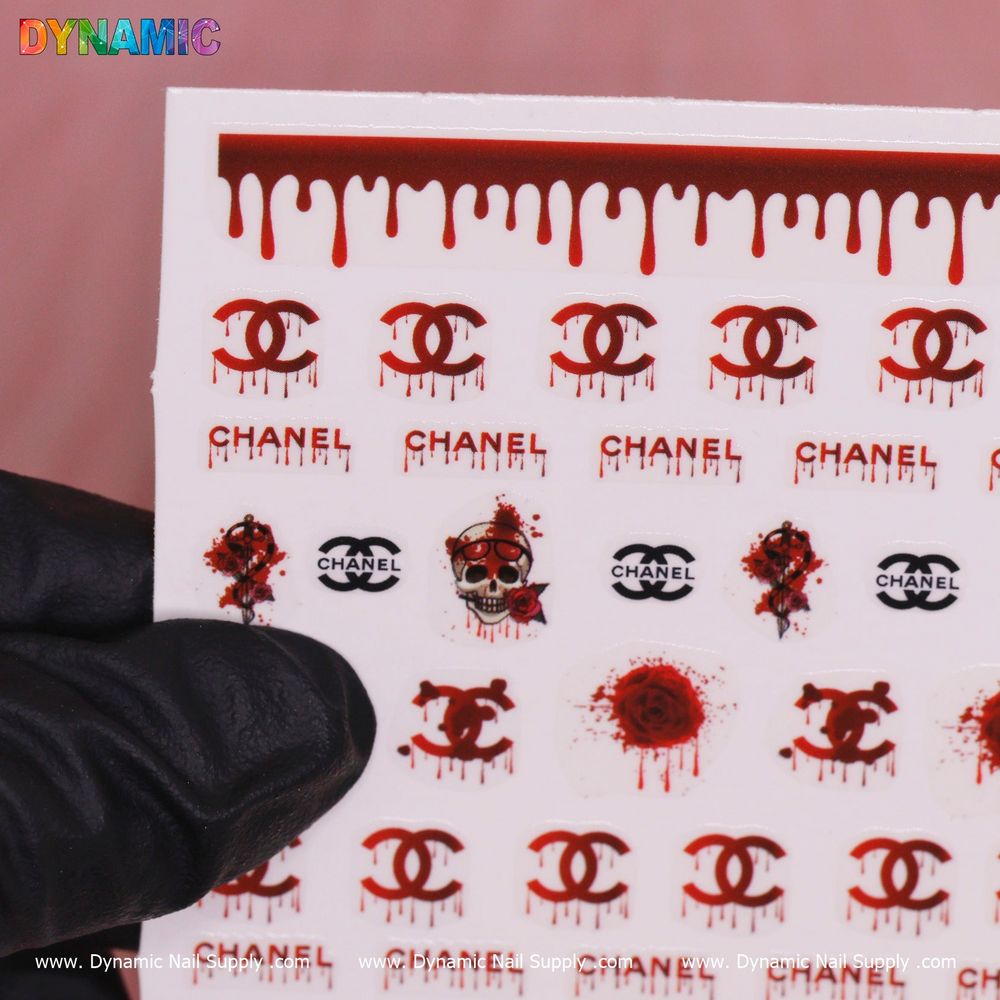
These stickers are pre-designed decals made for nail art, featuring themes such as skulls, gothic motifs, bloody accents, and Day of the Dead styles. They let beginners create crisp, detailed designs without hand-painting. Because they’re sold as a sticker product, you can expect fast application and consistent results.
Key features and why they matter
Think of these stickers as a shortcut to themed nail art. Key contextual features to look for include:
- Seasonal motifs: designs tuned for Halloween vibes—skulls, haunted imagery, dark floral and horror-leaning graphics.
- Beginner-friendly format: individual decals or small elements that are easy to place and trim.
- Instant impact: complex artwork without the need for painting skills.
If you’re shopping, consider this Halloween nail sticker for a quick seasonal update to your nail kit: this Halloween nail sticker
Step-by-step application for beginners
Follow these simple steps for the cleanest outcome. No professional tools required—basic nail prep and a steady hand are enough.
- Clean and dry nails: remove old polish, wash hands, and make sure nails are oil-free for best adherence.
- Shape and buff: gently file and lightly buff the nail surface to remove shine if you plan to use a top coat over the sticker.
- Apply a base: either a clear base coat or a colored polish that complements the sticker. Allow polish to dry until tacky but not wet.
- Place the sticker: use tweezers or a stick to pick up the decal and position it. Press gently from center to edges to remove air bubbles.
- Trim or tuck: if the sticker overlaps the free edge, trim excess with scissors or file the edge gently in a downward motion.
- Seal the design: finish with a clear top coat to smooth edges and lock the sticker in place; repeat if you want added durability.
Quick troubleshooting
- If edges lift, apply a thin layer of top coat under and over the lifted area and press down.
- If the sticker wrinkles, gently lift and reapply or replace with a fresh one—do not stretch the sticker into place.
Practical tips to make your manicure last
Small habits improve longevity and appearance:
- Avoid applying stickers to oily or moisturized cuticles; oils shorten adhesion.
- Use thin layers of top coat rather than one thick coat to prevent bubbling and peeling.
- Seal the free edge of the nail by brushing top coat along the tip to reduce snagging.
- If using gel polish, apply top coat compatible with your curing system and cure according to your lamp instructions.
Who should use these stickers?
These stickers are ideal for:
- Beginners looking for a quick seasonal look without learning hand-painting techniques.
- Salon techs who want a fast add-on for clients seeking Halloween-themed designs.
- Anyone wanting a temporary, striking accent—perfect for parties, events, or a short-term change.
Care and safety notes
Stickers are a cosmetic accessory—follow basic safety and hygiene guidance:
- Do not apply to damaged or infected nails; wait until nails are healthy.
- Remove gently using appropriate removers for the polish type underneath; do not peel aggressively to avoid nail bed damage.
- If you experience irritation after application, remove the sticker and consult a professional if symptoms persist.
Where this fits in your kit and final thoughts
Luxury Halloween nail stickers are a compact, affordable way to broaden your seasonal offerings—priced at $2.00, they’re an easy impulse add to a nail supply inventory or personal stash. They work well combined with plain polish, glitter accents, or as part of more elaborate sets.
Whether you’re prepping for a themed look or testing a new style approach, these stickers let you achieve detailed Halloween art quickly and reliably. For a no-fuss spooky manicure that still reads polished and professional, consider adding one to your next nail session.
Available through select retailers and supply shops, these stickers are a practical tool for creators at any skill level.
